
Why Base Preparation Makes or Breaks Your Driveway
The aggregate base layer is the structural foundation of every asphalt driveway. While the hot mix asphalt surface gets all the visual attention, it's the base that does the heavy lifting — literally. A properly prepared base distributes vehicle loads from the narrow tire contact patches (about 30 square inches each) across a much wider area of the subgrade soil, preventing the concentrated stress from punching through the pavement.
Think of it this way: a 4,000-pound car distributes roughly 1,000 pounds through each tire. Without a base layer, that force concentrates on about 30 square inches of soil (33 psi). With a proper 6-inch aggregate base, the same load spreads to approximately 450 square inches at the subgrade (2.2 psi) — a 15x reduction in stress. This is why even a thin driveway on a thick base outperforms a thick driveway on no base. Once your base is prepared, use the driveway asphalt calculator to determine how much hot mix you need for the surface.
Aggregate Base Materials Compared
Choosing the right aggregate type depends on your soil conditions, local availability, and budget. Here's a comprehensive comparison of common base materials:
| Material | Size Range | Cost/Ton | Best Use |
|---|---|---|---|
| Dense-Graded Aggregate (DGA) | 1.5" to fines | $18–$35 | Primary base layer (standard) |
| Crusher Run | 1" to fines | $15–$30 | Budget-friendly base |
| Recycled Concrete (RCA) | 1.5" to fines | $12–$25 | Eco-friendly / budget option |
| Open-Graded Stone | 1–2" uniform | $20–$40 | Drainage layer under DGA |
| Recycled Asphalt (RAP) | Variable | $8–$20 | Sub-base; self-cementing properties |
For most residential driveways, DGA is the recommended default. It provides the best combination of structural capacity, drainage, and workability. If budget is a primary concern and loads are light, crusher run or recycled concrete are viable alternatives.
Step-by-Step Base Preparation Process
Follow this proven sequence to prepare a driveway base that will support your asphalt surface for decades:
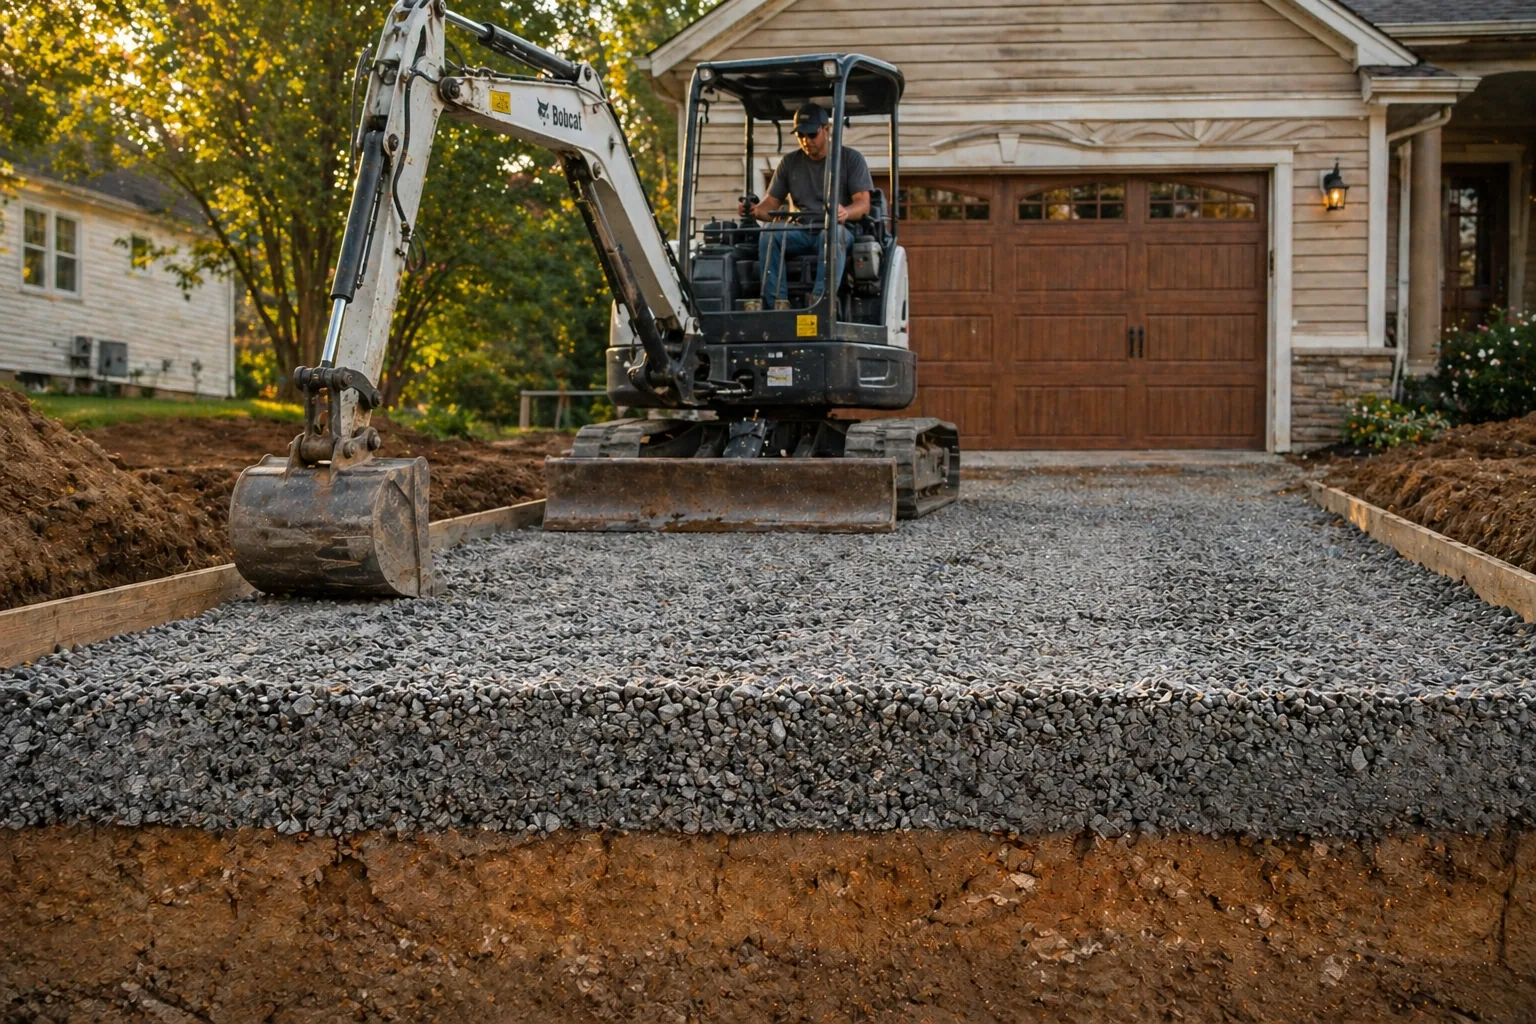
1. Excavation and Subgrade Prep
Remove all topsoil, organic material, and soft spots down to firm native soil. The excavation depth should equal your total planned section (base + asphalt + 1–2 inches for subgrade shaping). Grade the subgrade to match the desired surface slope (minimum 2% for drainage), and compact with a minimum of 2 passes of a smooth drum roller.
2. Geotextile Installation (If Needed)
Roll out non-woven geotextile fabric directly onto the prepared subgrade, overlapping seams by at least 12 inches. Extend the fabric at least 6 inches beyond the planned base area on all sides. The geotextile prevents fine soil particles from migrating upward into the aggregate, which would compromise its load-bearing capacity over time.
3. Base Course Placement
Spread aggregate in uniform lifts of 4–6 inches loose thickness. For a 6-inch base, a single lift works. For deeper bases (8–12 inches), use two or more lifts. Each lift must be individually compacted before the next is placed. Use a motor grader, skid steer, or hand rakes to achieve uniform thickness — variation of more than 1/2 inch across the surface will translate into uneven asphalt.
4. Compaction
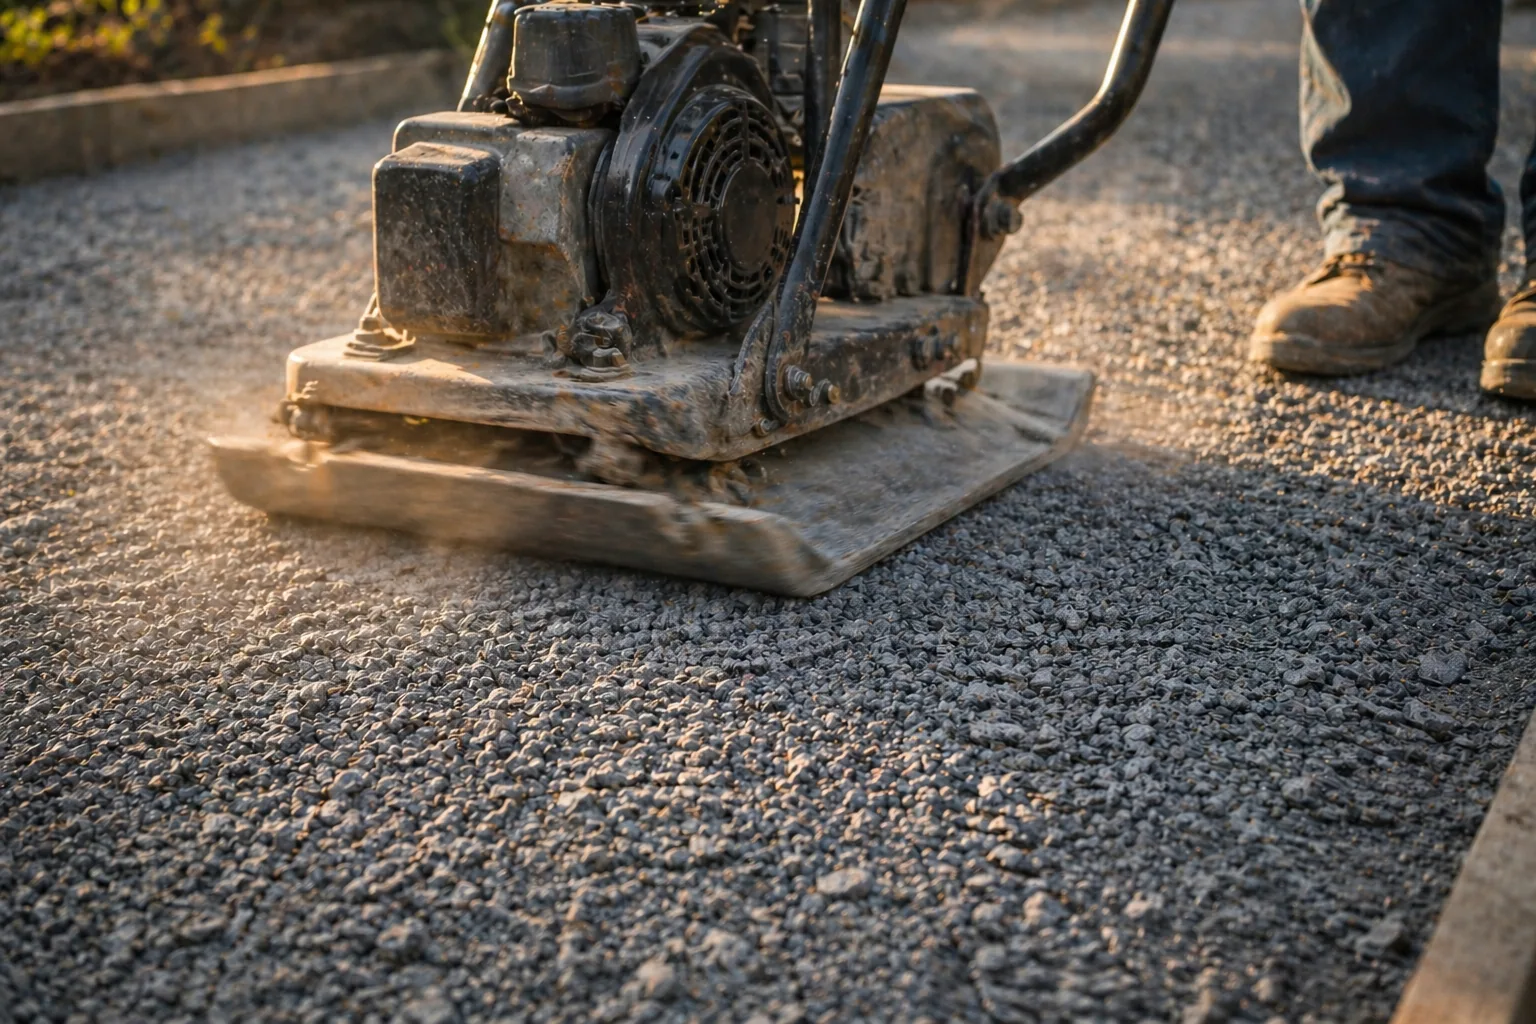
This is the most critical step. Add water to the aggregate if it's dry (shoot for 6–8% moisture content — the material should be damp but not dripping). Make at least 4 to 6 passes with a vibratory roller (1+ ton for driveways), overlapping each pass by 6 inches. The surface should be firm enough that walking on it leaves no visible footprints.
5. Fine Grading
After compaction, check grades with a string line or laser level. The finished base surface should match the planned asphalt surface profile — including all slopes and crowns — because the asphalt layer will have uniform thickness. Fill low spots with additional aggregate and re-compact. High spots should be scraped down, never simply covered with more material.
Calculating Base Material Quantities
To estimate how much aggregate base material you need:
Cubic yards = (Length ft × Width ft × Depth inches) ÷ 324
Tons = Cubic yards × 1.4 (for DGA/crusher run average density)
For example, a 50-foot by 12-foot driveway with 6 inches of base:
- Volume: (50 × 12 × 6) ÷ 324 = 11.1 cubic yards
- Weight: 11.1 × 1.4 = 15.5 tons
- Cost at $25/ton: $388 delivered
Always add a 10–15% overage to account for subgrade irregularities, spreading waste, and compaction (which reduces volume by approximately 15–20% from loose measurement). If your subgrade has soft spots that need over-excavation, add additional material for those areas.
Drainage and Grading Requirements
Proper drainage begins at the base layer — the subgrade and base must be graded to shed water, not trap it. Key grading requirements:
- Longitudinal slope: Minimum 1% (1/8 inch per foot), recommended 2–3%, away from structures. Grade the driveway to drain toward the street or a designated drainage area.
- Cross slope: 2% minimum for flat driveways (1/4 inch per foot). Crowned driveways (high center) use 2% slope on each side.
- Subgrade slope: Must mirror the surface slopes. The base layer sits between them at uniform thickness, so the subgrade must be pre-shaped to the same profile.
- Perimeter drainage: For driveways surrounded by soil or landscaping, consider a French drain or perimeter swale to intercept surface water before it reaches the driveway edges.
⚠️ Critical: Never grade a driveway to drain toward a building foundation. Many building codes require a minimum of 6 inches of fall in the first 10 feet away from a foundation wall.
After paving is complete, sealcoating the finished surface provides an additional moisture barrier that complements proper base drainage design.
Common Base Preparation Mistakes
These mistakes are responsible for the majority of premature driveway failures, and all occur before a single ounce of asphalt is placed:
- Not removing topsoil — Topsoil contains organic matter that decomposes and compresses over time, creating voids under the pavement. Always strip to mineral soil.
- Placing base on frozen ground — Frozen subgrade cannot be compacted and will settle unevenly when it thaws. Never place base between November and April in frost regions unless the subgrade is verified unfrozen.
- Skipping compaction testing — "It looks firm" is not adequate quality control. One soft spot can cause a pothole within the first year. Either test with a nuclear density gauge or at minimum proof-roll with a loaded tandem truck and watch for deflection.
- Using round river gravel — Round stones do not interlock and will never achieve proper compaction. Always use angular, crushed aggregate for base material.
- Contaminating base with subgrade soil — Equipment trafficking on soft subgrade pushes soil up into the base, weakening both layers. Use geotextile separation on soft soils and keep construction traffic off the prepared subgrade.
If you're building over an existing deteriorated driveway, our asphalt resurfacing and overlay guide covers when a new base is needed versus when you can overlay directly.