
Overlay vs. Full Replacement: Decision Guide
The first question any driveway renovation project must answer is whether an overlay (resurfacing) is sufficient or whether full removal and replacement is necessary. Making the wrong call here is the most expensive mistake in residential paving — an overlay on a failed base will crack and deteriorate within a few years, wasting your investment. Review our asphalt thickness guide to understand the minimum depth needed for a lasting overlay.
| Condition | Overlay OK? | Action Required |
|---|---|---|
| Surface oxidation (gray color) | ✅ Yes | Direct overlay |
| Hairline thermal cracks | ✅ Yes | Crack fill, then overlay |
| Moderate cracking (1/4–1/2") | ✅ Yes | Crack fill + tack coat + overlay |
| Minor settling (<1" low spots) | ✅ Yes | Level course + overlay |
| Alligator cracking (localized) | ⚠️ Partial | Remove & patch failed areas, then overlay |
| Alligator cracking (widespread) | ❌ No | Full removal and replacement |
| Base failure / heaving | ❌ No | Full removal, base rebuild, repave |
| Standing water / drainage failure | ❌ No | Regrading + full replacement |
💡 Quick Test: Drive a heavy vehicle (loaded pickup truck) slowly across the driveway while someone watches for visible deflection (the surface "bouncing" under the tires). If you see movement, the base has failed and an overlay alone won't fix it.
Cost Comparison: Overlay vs. Replacement
The financial difference between overlay and replacement is substantial:
| Method | Cost/Sq Ft | 600 Sq Ft Driveway | Expected Life |
|---|---|---|---|
| Overlay (1.5" without milling) | $2.00–$3.50 | $1,200–$2,100 | 8–12 years |
| Overlay (2" with milling) | $3.00–$5.00 | $1,800–$3,000 | 10–15 years |
| Full replacement (3") | $5.00–$8.00 | $3,000–$4,800 | 15–25 years |
| Full replacement + base rebuild | $7.00–$12.00 | $4,200–$7,200 | 20–30 years |
An overlay can save 40–60% upfront compared to full replacement. However, consider the cost per year of useful life when deciding. A $2,000 overlay lasting 10 years ($200/year) vs. a $5,000 replacement lasting 25 years ($200/year) are roughly equivalent on a per-year basis — but the overlay requires a second intervention 15 years earlier. Use our driveway asphalt calculator to estimate exact material quantities and cost for your overlay project.
Milling: When and Why to Grind Before Overlaying
Milling (also called profiling or cold planing) uses a machine with a rotating drum of carbide teeth to grind away the top 1–2 inches of old asphalt. The process creates a rough, textured surface that bonds exceptionally well to new asphalt. Here's when it's necessary:
- Height constraints — If adding 1.5–2 inches would raise the surface above the garage slab, walkways, or curb lines, milling removes the same amount first to maintain proper elevation.
- Rough or uneven surface — Milling creates a uniform starting surface, eliminating bumps and minor grade issues that would telegraph through a thin overlay.
- Deteriorated top layer — When the top 1 inch is badly cracked or raveled, milling removes the compromised material rather than trapping it under new asphalt.
- Better bonding — The rough texture left by milling provides significantly better mechanical bond than a smooth oxidized surface, even with tack coat.
Milling is not necessary when: the existing surface is in fair condition with only minor cracking, elevation is not a concern, and proper tack coat will be applied. On rural or suburban driveways without curb constraints, a direct overlay without milling is often the most cost-effective approach.
Tack Coat: The Critical Bonding Layer
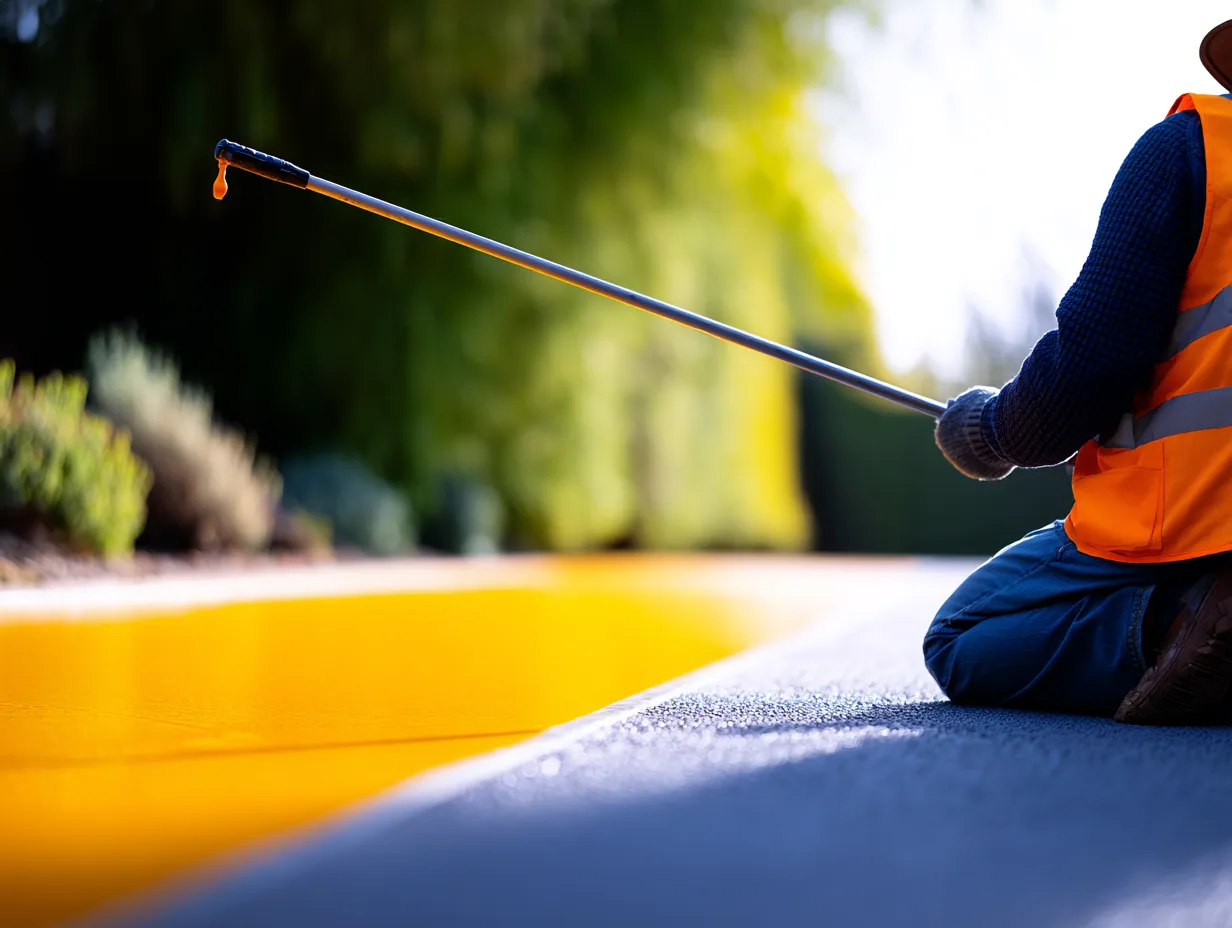
Tack coat is a thin application of diluted asphalt emulsion applied to the existing surface immediately before the new overlay is placed. Its purpose is to create a permanent bond between the old and new asphalt layers. Without adequate tack coat, the overlay can slip, delaminate, or separate from the old surface — sometimes within the first year.
Tack coat specifications:
- Material: SS-1h or CSS-1h diluted 1:1 with water (most common for residential)
- Application rate: 0.04–0.07 gallons per square yard of residual asphalt
- Coverage: About 100–150 sq ft per gallon of diluted emulsion
- Curing: Must "break" (change from brown to black) before paving — typically 15–30 minutes
- Cost: $0.10–$0.25 per square foot (included in most contractor bids)
⚠️ Red Flag: If your contractor skips tack coat to save time, this is a serious quality concern. Tack coat is inexpensive ($50–$100 for a driveway) and its omission is the #1 cause of overlay delamination.
Preventing Reflective Cracking
The biggest challenge with asphalt overlays is reflective cracking — old cracks working their way up through the new surface. As the original pavement moves due to thermal expansion, traffic loading, or settling, the movement concentrates stress at the crack tips and eventually propagates through the overlay. This can happen as quickly as 1–3 years after installation.
Strategies to minimize reflective cracking:
- Crack filling before overlay — Fill all cracks wider than 1/4 inch with rubberized crack sealant. This absorbs some of the old movement and delays crack propagation.
- Paving fabric (interlayer) — A fiberglass or polyester geotextile fabric saturated with tack coat, placed between old and new surfaces. Acts as a stress-absorbing membrane interlayer (SAMI) that can delay reflective cracking by 3–7 years.
- Thicker overlay — Each additional inch of overlay adds approximately 2–3 years before reflective cracking appears. A 2-inch overlay resists cracking significantly longer than 1.5 inches.
- Polymer-modified mix — Using a PMA overlay (SBS or SBR polymer-modified asphalt) provides greater flexibility and crack resistance than standard HMA, extending reflective crack delay by an additional 2–4 years.
- Milling before overlay — Removing the cracked surface layer eliminates the source of many reflective cracks, though deep thermal and structural cracks may still propagate.
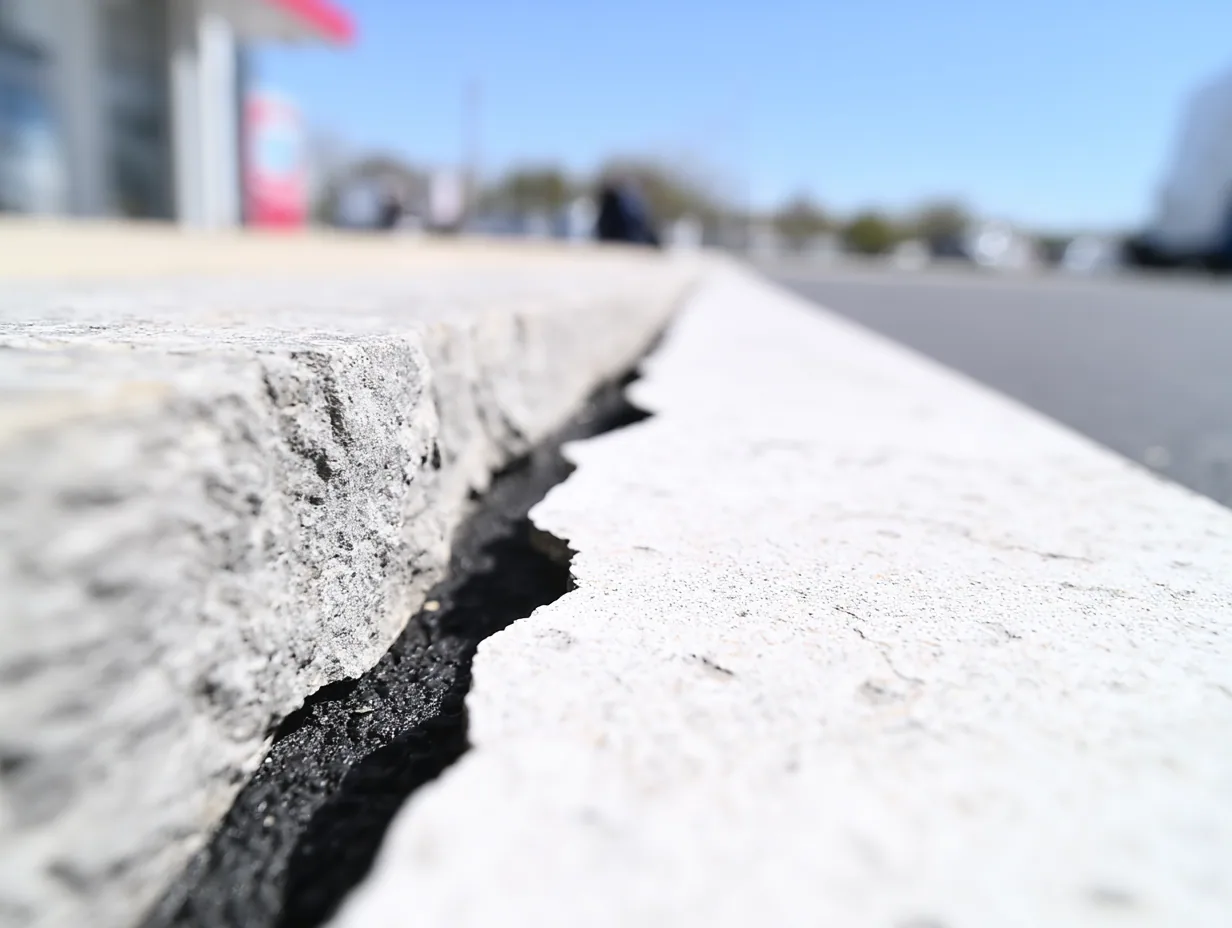
Pay special attention to expansion joints at concrete-to-asphalt transitions — these are common origins of reflective cracks if not properly isolated before overlaying.
Overlay Installation Process
A quality overlay installation follows these steps:
- Surface preparation — Clean all debris, fill cracks, patch potholes or failed areas. If milling, complete the milling pass and sweep up all loose material.
- Edge preparation — Mill or saw-cut a clean vertical edge where the overlay meets garage slabs, walkways, or curbs. This creates a weathertight joint instead of a feathered edge that crumbles.
- Tack coat application — Apply diluted emulsion uniformly and allow to break (turn black) before paving begins.
- Asphalt delivery and placement — Material should arrive at 275–325°F and be placed promptly. The paver or crew spreads HMA at the specified thickness plus compaction allowance (typically add 25%).
- Compaction — Begin rolling immediately behind the paver while material is still above 250°F. Breakdown rolling achieves primary density, intermediate rolling closes the surface, and finish rolling removes marks.
- Joint construction — Where the overlay meets other surfaces, construct proper cold joints with vertical faces and tack coat for a clean, durable transition.
The overlay should be open to foot traffic within 2–4 hours and to vehicle traffic within 24 hours of placement, depending on ambient temperature and overlay thickness.