
What Is Sealcoating and Why Does It Matter?
Sealcoating is the application of a thin, protective layer of liquid sealer over an existing asphalt surface. It serves as a barrier against the primary enemies of asphalt: UV radiation, water infiltration, and chemical spills (oil, gasoline, antifreeze). Unprotected asphalt begins oxidizing within 6–12 months of installation — the surface turns from black to gray, becomes brittle, and fine cracks (called "raveling") appear as the asphalt binder dries out.
A well-maintained sealcoating schedule can extend your driveway's life by 50–100%. A driveway that might last 15 years without sealcoating can last 20–25+ years with regular applications every 2–3 years. At a cost of roughly $150 per application for a two-car driveway, sealcoating delivers an exceptional return on investment compared to the $3,000–$8,000 cost of full replacement. Use our driveway asphalt calculator to estimate the replacement cost for your specific driveway dimensions.
Sealcoat Types and Product Comparison
Not all sealcoats are created equal. The three main categories differ significantly in durability, environmental impact, appearance, and cost:
| Product Type | Durability | Cost / Gallon | Coverage | Environmental |
|---|---|---|---|---|
| Asphalt emulsion | 2–3 years | $15–$25 | 50–80 sq ft/gal | Low impact; water-based |
| Coal tar emulsion | 3–4 years | $18–$30 | 50–70 sq ft/gal | High PAH; banned in some states |
| Fast-dry acrylic | 3–5 years | $35–$60 | 60–100 sq ft/gal | Low impact; water-based |
| Gilsonite-based | 3–5 years | $30–$50 | 60–80 sq ft/gal | Natural mineral; eco-friendly |
For most homeowners, asphalt emulsion sealer is the best balance of cost, availability, and performance. If you're willing to invest more for longer protection and richer color, acrylic sealers are the premium choice. Avoid coal tar in states where it's restricted (Washington, Minnesota, parts of Texas and Wisconsin, and several East Coast municipalities).
Calculating Sealcoat Coverage and Material Needs
The amount of sealcoat you need depends on the surface area, number of coats, and the porosity of your existing asphalt. Use this formula:
Gallons needed = (Area in sq ft × Number of coats) ÷ Coverage rate (sq ft/gallon)
Two coats are always recommended. A single coat provides minimal protection and wears through in high-traffic areas within a year. Two coats create a robust film that wears evenly. Some professionals apply three coats in the apron area (where the driveway meets the street) because this zone sees the heaviest turning traffic.
| Driveway Size | Area (sq ft) | Gallons (2 coats) | 5-Gal Buckets | Est. Cost (DIY) |
|---|---|---|---|---|
| Single-car | 300–450 | 8–14 | 2–3 | $50–$90 |
| Two-car | 600–800 | 15–25 | 3–5 | $80–$150 |
| Three-car | 900–1,200 | 23–37 | 5–8 | $120–$240 |
| Long rural | 1,500–3,000 | 38–93 | 8–19 | $200–$570 |
DIY vs. Professional Sealcoating
Sealcoating is one of the few driveway maintenance tasks that a homeowner can realistically handle themselves. Here's a detailed comparison:
DIY Sealcoating
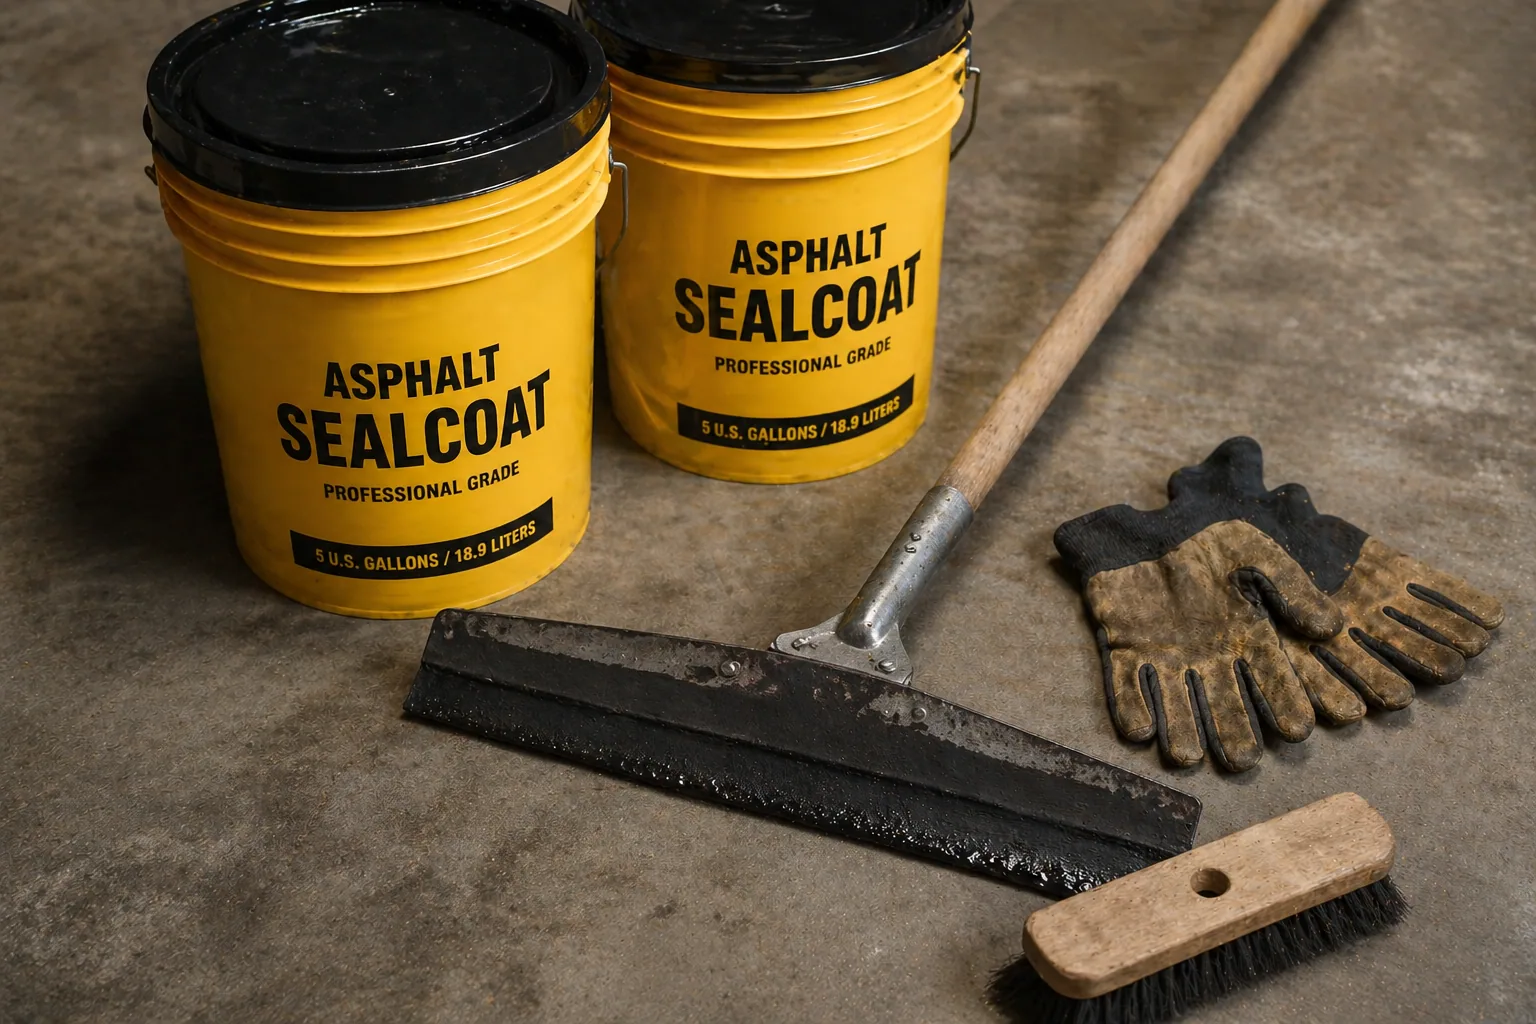
- Cost: $0.05–$0.12/sq ft (materials only)
- Time: 3–5 hours for a two-car driveway (plus 24–48 hr cure)
- Tools: Squeegee/brush, leaf blower, crack filler, buckets
- Pros: 50–70% cost savings; schedule flexibility
- Cons: Thinner application; potential streak marks; physical labor
Professional Sealcoating
- Cost: $0.15–$0.30/sq ft (full service)
- Time: 1–2 hours on-site
- Equipment: Spray system, blower, crack router, hot-pour filler
- Pros: Even application; crack filling included; commercial-grade product
- Cons: Higher cost; scheduling around contractor availability
Application Process and Best Practices
Whether you're DIYing or overseeing a contractor, understanding the process helps ensure a quality result:
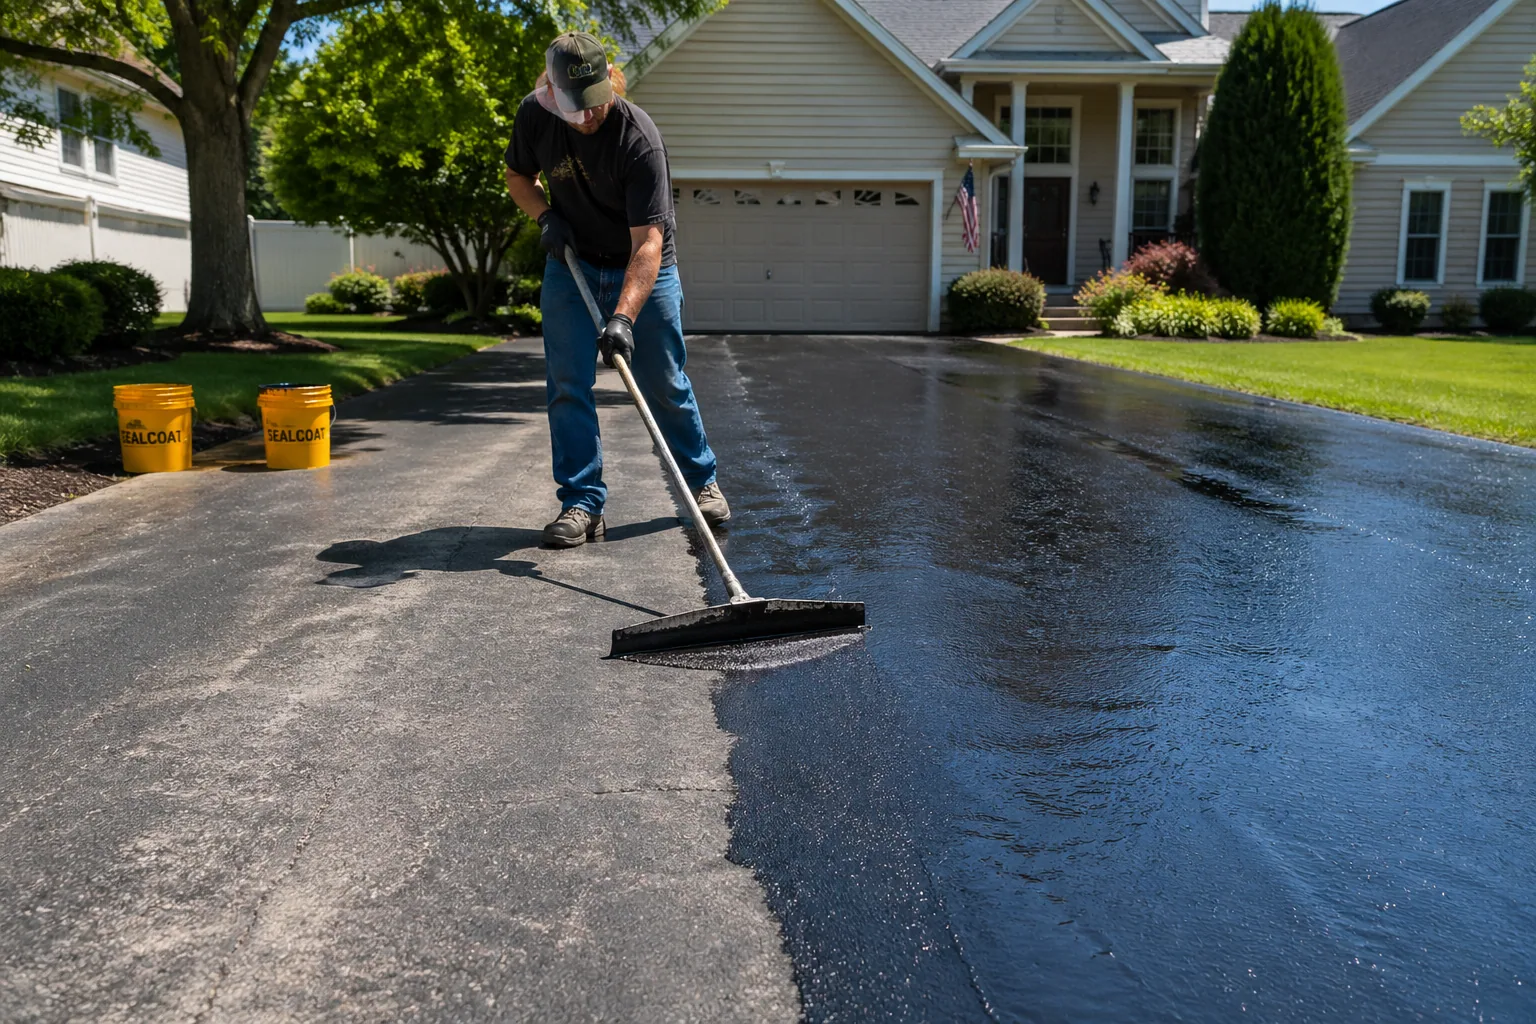
- Clean the surface thoroughly — Remove all dirt, debris, vegetation, and loose material. Use a pressure washer or stiff broom and leaf blower. Oil stains must be treated with a degreaser and primed with an oil spot primer before sealing.
- Fill cracks — Any crack wider than 1/8 inch should be filled with rubberized crack filler. For cracks wider than 1/2 inch, use backer rod + hot-pour crack sealant. This is the most important step — sealcoat cannot bridge open cracks.
- Edge work — Use a brush to sealcoat 6–12 inches along all edges, expansion joints, and garage door aprons before the main application. This ensures full coverage in areas the squeegee can't reach.
- Apply first coat — Pour 1–2 gallons at a time in a ribbon across the driveway and spread evenly with a squeegee applicator. Work in one direction, slightly overlapping each pass. The coat should be thin — you should still see the texture of the asphalt through the wet sealer.
- Allow drying — Wait 4–8 hours between coats (longer in cool or humid conditions). The first coat should be completely dry to the touch before applying the second.
- Apply second coat — Apply perpendicular to the first coat direction for crosshatch coverage. This fills in any thin spots from the first coat.
- Cure time — Keep all traffic off for 24 hours minimum, 48 hours for vehicle traffic. In cool weather (below 65°F), extend to 72 hours.
When NOT to Sealcoat
Sealcoating is not a universal fix. There are situations where it's not appropriate, or where it won't solve the underlying problem:
- New asphalt (<6 months old) — Fresh asphalt needs time to cure and fully oxidize. Sealing too early traps volatiles and can prevent proper hardening.
- Alligator cracking — Interconnected cracking that looks like reptile skin indicates structural failure. Sealcoating won't fix it — you need patching or replacement.
- Severe oxidation — If the surface is so deteriorated that aggregate is exposed across large areas, sealcoat won't bond well. Consider a thin asphalt overlay instead.
- Temperature below 50°F — Sealcoat is a water-based product that won't cure properly in cold conditions. Most products require 50°F and rising for 24 hours after application.
- Rain within 24 hours — Uncured sealcoat will wash away in rain, staining everything downstream and wasting your investment.