
Standard Parking Space Dimensions
Parking stall dimensions are governed by local zoning codes and vary by municipality, but most jurisdictions follow similar standards based on the angle of parking:
| Angle | Stall Width | Stall Depth | Aisle Width | Module Width |
|---|---|---|---|---|
| 90° (perpendicular) | 9.0 ft | 18.0 ft | 24.0 ft (2-way) | 60.0 ft |
| 75° | 9.0 ft | 19.5 ft | 22.0 ft | 61.0 ft |
| 60° | 9.0 ft | 21.0 ft | 16.0 ft | 58.0 ft |
| 45° | 9.0 ft | 19.8 ft | 13.0 ft | 52.6 ft |
| 0° (parallel) | 8.0 ft | 22.0 ft | 12.0 ft | — |
The module width is the total dimension from curb to curb including one row of spaces on each side and the drive aisle between them. This is the key number for lot layout — divide the available lot width by the module width to determine how many double-loaded rows you can fit. Before striping, use our commercial parking lot calculator to estimate total asphalt quantities for your layout.
Traffic Paint Types and Selection
Choosing the right striping material is a balance of durability, cost, and drying time. Here's a detailed comparison:
| Material | Life Span | Dry Time | Cost/Gal | Coverage |
|---|---|---|---|---|
| Water-based latex | 1–2 yrs | 15–30 min | $20–$35 | 300–400 lin ft/gal |
| Solvent-based (alkyd) | 2–3 yrs | 30–60 min | $25–$45 | 250–350 lin ft/gal |
| Epoxy (2-part) | 3–5 yrs | 4–8 hrs | $60–$100 | 200–300 lin ft/gal |
| Thermoplastic | 4–8 yrs | 1–3 min | $80–$150 | 100–200 lin ft/gal* |
*Thermoplastic is measured by weight rather than volume — approximately 20–30 lb per 100 linear feet of 4-inch line at standard 90-mil thickness.
For most commercial parking lots, water-based latex paint is the standard choice — it's inexpensive, fast-drying, environmentally compliant, and easy to reapply annually. High-traffic areas like drive-through lanes and fire zones benefit from thermoplastic for its exceptional durability.
Glass Bead Reflectivity
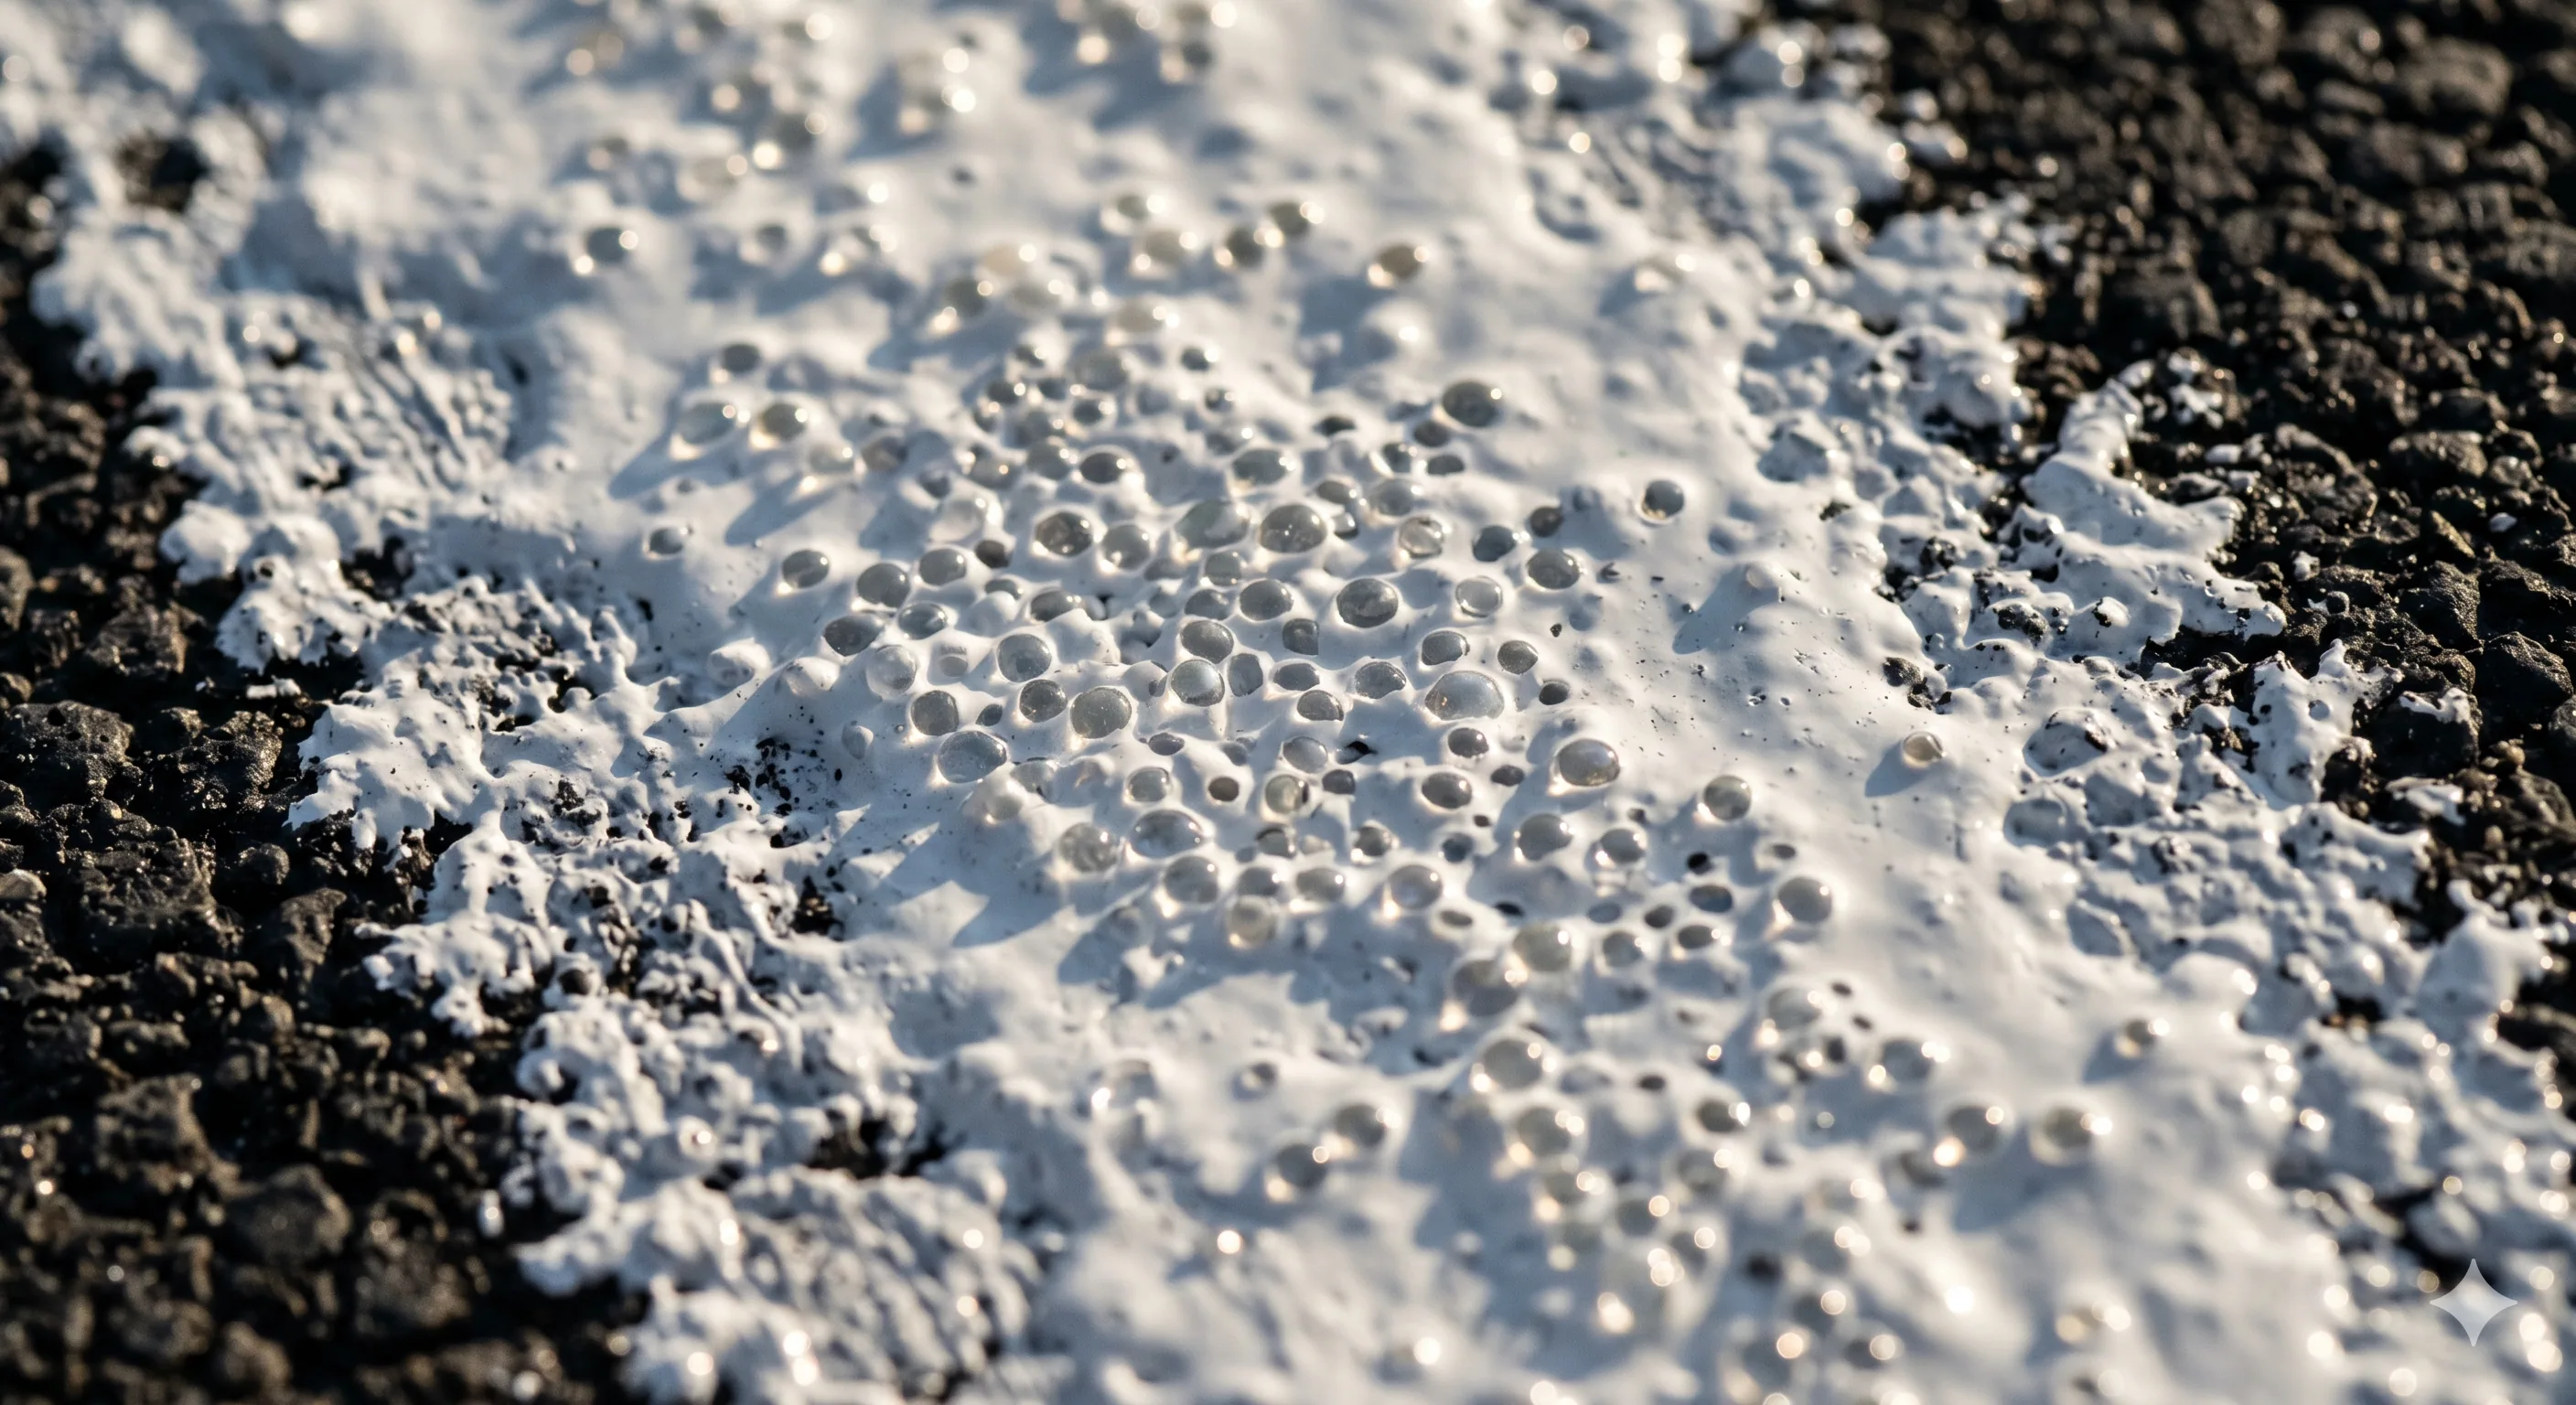
Glass beads are embedded in wet paint to create retroreflective markings that are visible under headlights at night. While not always required for parking lot stall lines, beads are essential for directional arrows, crosswalks, stop bars, and any markings on drive lanes.
- Drop rate: 6–8 pounds per gallon of paint (standard application)
- Bead size: AASHTO Type I (0.6–0.85mm) for paint; Type III (1.0–2.5mm) for thermoplastic
- Application: Dropped onto wet paint surface immediately after striping; beads sink halfway into the paint film and reflect light back toward the source
- Cost: $0.30–$0.60 per pound, adding $2–$5 per gallon of paint used
Fire Lane and Emergency Vehicle Markings
Fire lane markings are typically governed by the local fire marshal and building code. Common requirements include:
- Curb paint: Red curb along fire lanes, minimum 6 inches wide on curb face
- Text markings: "NO PARKING — FIRE LANE" stenciled on the pavement at 25–50 foot intervals
- Width: Minimum 20 feet clear width for fire apparatus access (some jurisdictions require 26 feet)
- Turning radius: Minimum 25-foot inside radius for fire truck turning paths
- Vertical clearance: 13 feet 6 inches minimum over fire lanes
Dumpster enclosure areas also require specific markings including "No Parking" zones and approach clearance lines — see our dumpster pad calculator for approach apron dimensions and bollard placement.
🚒 Note: Fire lane marking requirements vary significantly by jurisdiction. Always confirm exact specifications (curb color, text wording, sign requirements) with your local fire department before striping. Non-compliant markings may need to be redone at your expense.
When planning lot layout, also consider how surface grading affects line placement — our parking lot drainage design guide covers slope requirements and catch basin positioning that influence striping layout.
Calculating Paint Quantities
To estimate how much paint your striping project requires:
Total linear feet = (Stall lines × avg length) + (Lane lines + Curb paint + Crosswalks)
Gallons = Total linear feet ÷ Coverage rate (lin ft per gallon)
For a typical 100-space 90-degree parking lot:
- Stall lines: ~201 lines × 18 ft = 3,618 lin ft
- Lane edge lines: ~600 lin ft
- Handicap markings: ~100 lin ft equivalent
- Arrows and text: ~200 lin ft equivalent
- Fire lane curb: ~300 lin ft (red paint)
- Total: ~4,818 lin ft
- At 350 lin ft/gallon: ~14 gallons (white) + 1 gallon (blue) + 1 gallon (red)
Striping Best Practices
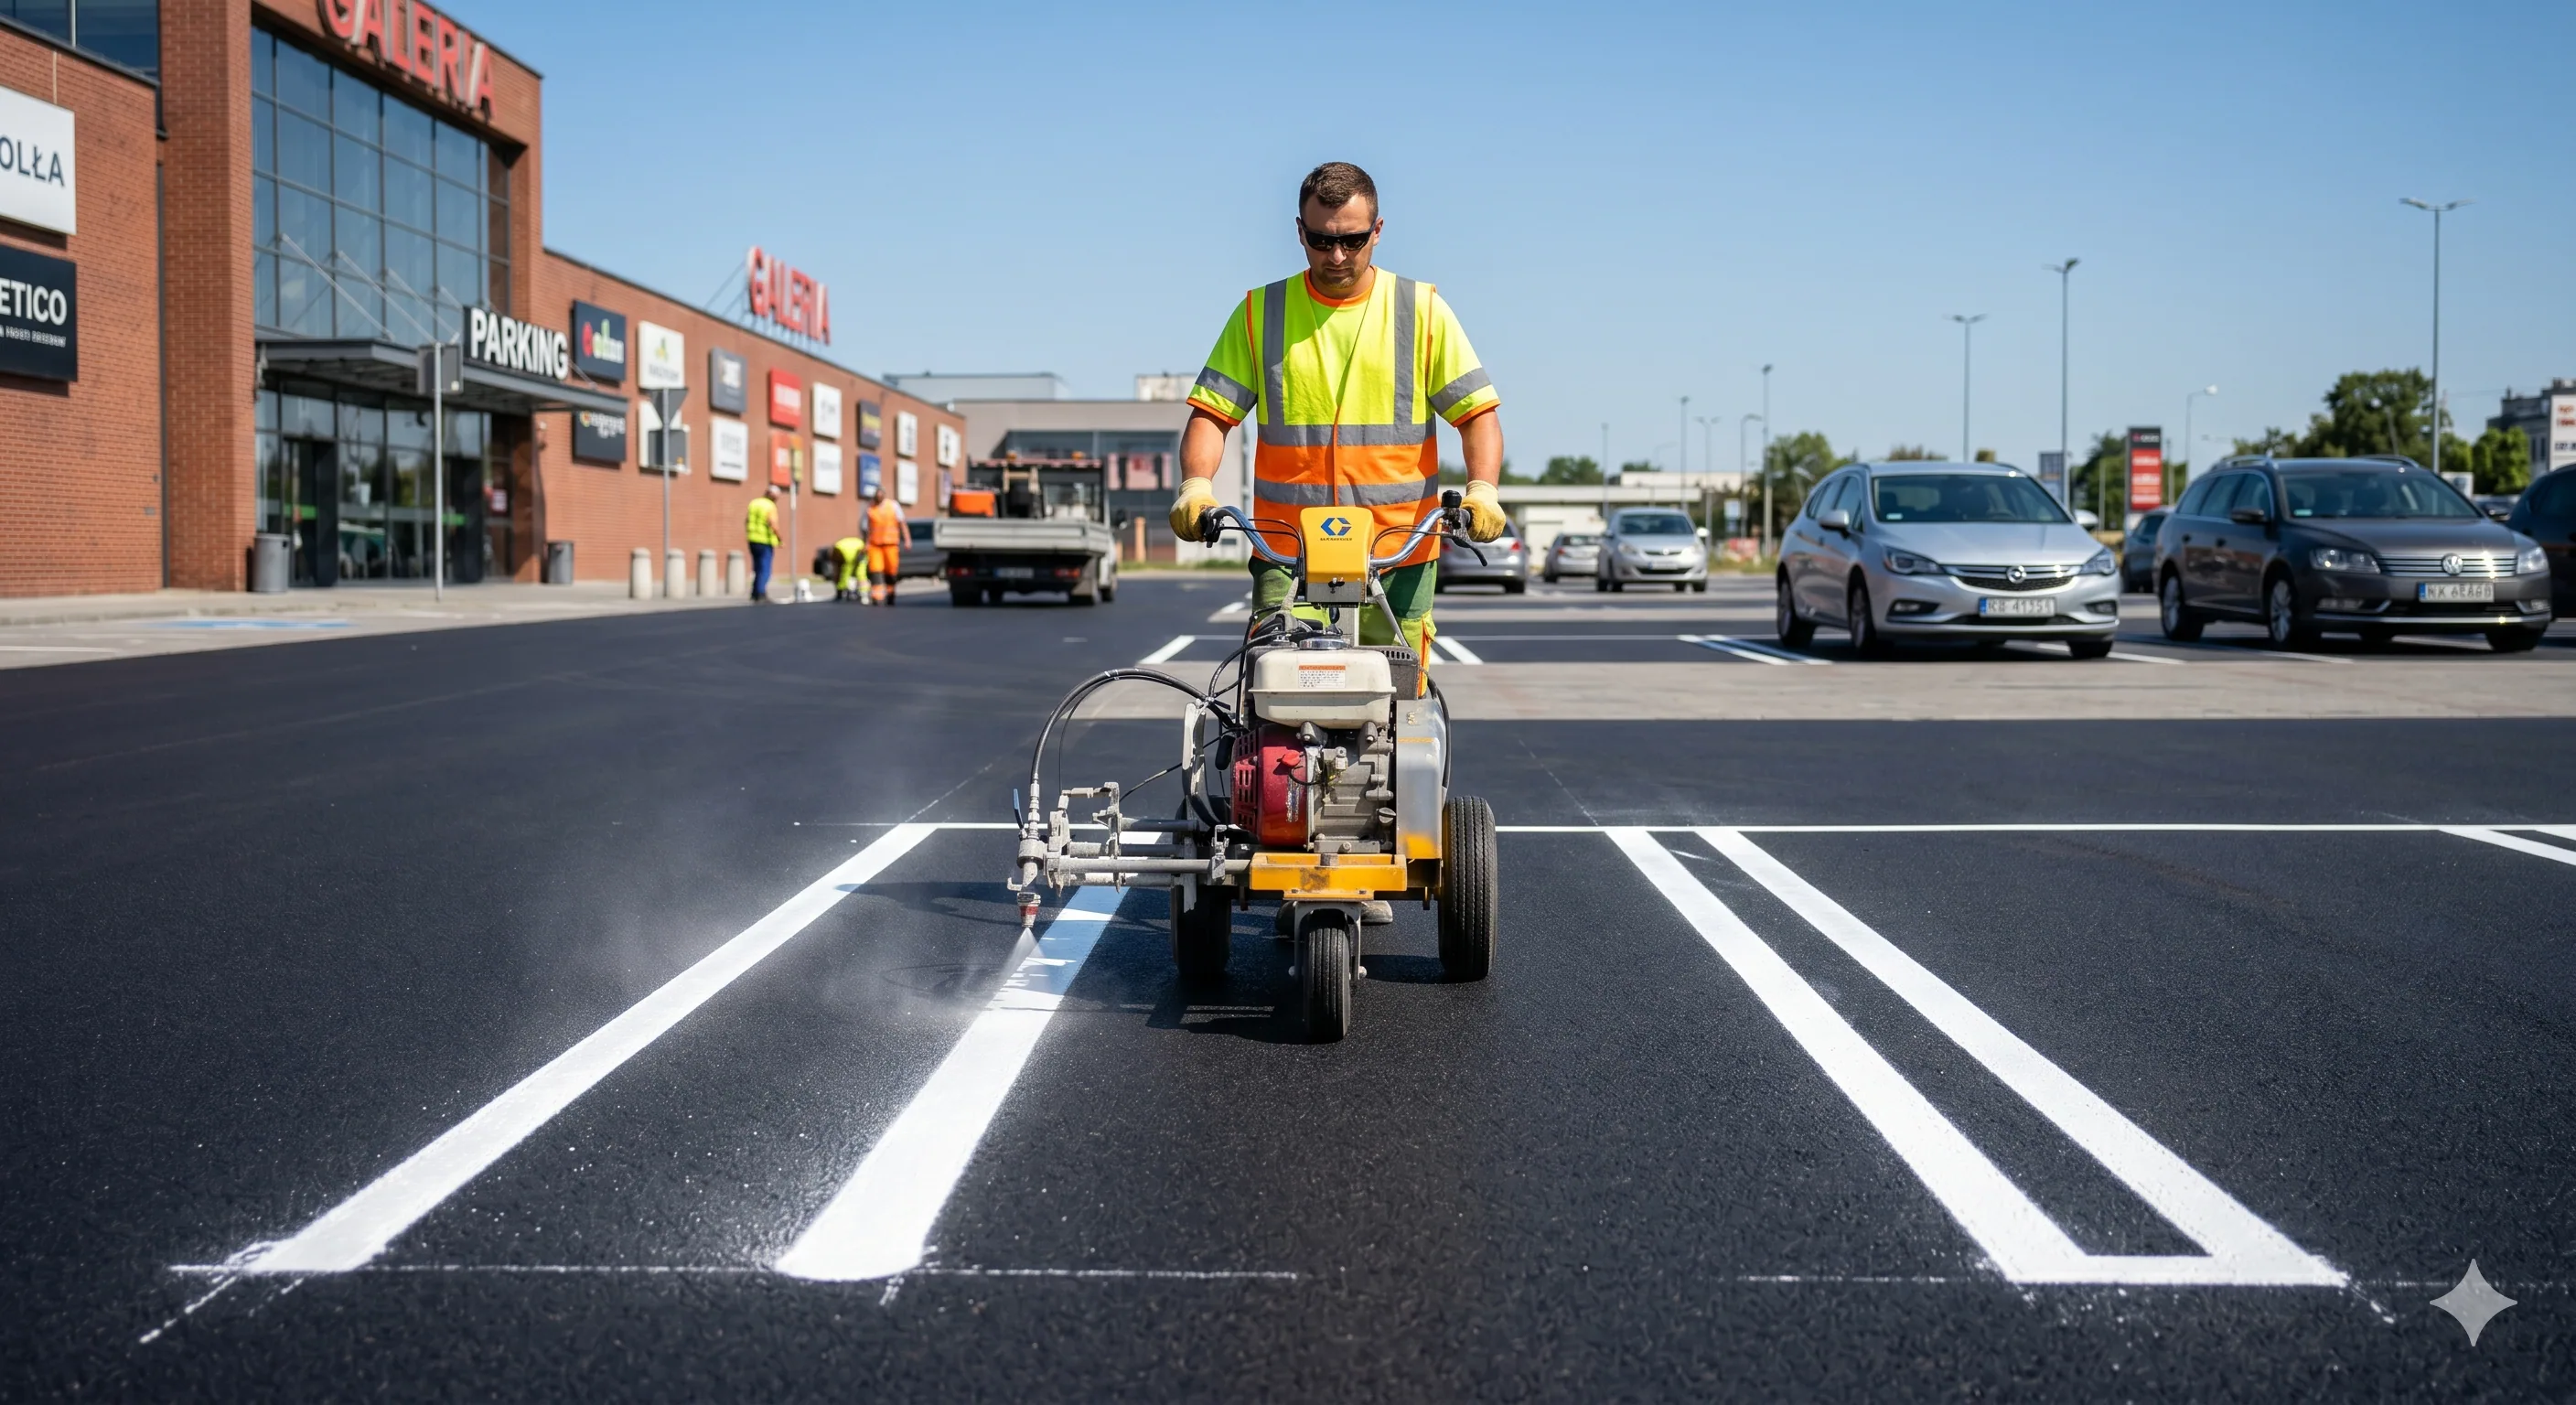
Professional striping contractors follow these practices for clean, durable results:
- Surface preparation — Sweep or blow all debris from the surface. For new lots, wait at least 30 days after paving before striping to allow the asphalt to cure. Some contractors apply a primer on new asphalt for better paint adhesion.
- Layout first — Snap chalk lines or use a layout string for all primary reference lines before painting. Double-check dimensions against the approved site plan. Once paint is down, corrections are difficult and expensive.
- Weather conditions — Paint above 50°F on a dry surface with no rain expected for at least 2 hours. Avoid striping in direct afternoon sun in summer — surface temperatures above 130°F can cause paint to dry too fast, reducing adhesion.
- Film thickness — Apply at 15–20 wet mils for standard line paint (about the thickness of a sheet of paper). Too thin and it wears through quickly; too thick and it takes hours to dry and may peel.
- Two coats for new layouts — First-time markings on dark asphalt benefit from two coats of white paint, allowing the first to dry completely before applying the second. This provides better opacity and longer life.